This year has been a crazy year. 2015 has had many losses and gains for our family. Having lost a beloved sister, aunt and uncle, we wondered if the losses would stop. Looking back through the posts on this blog have helped me realize that there are many gains to be recognized.
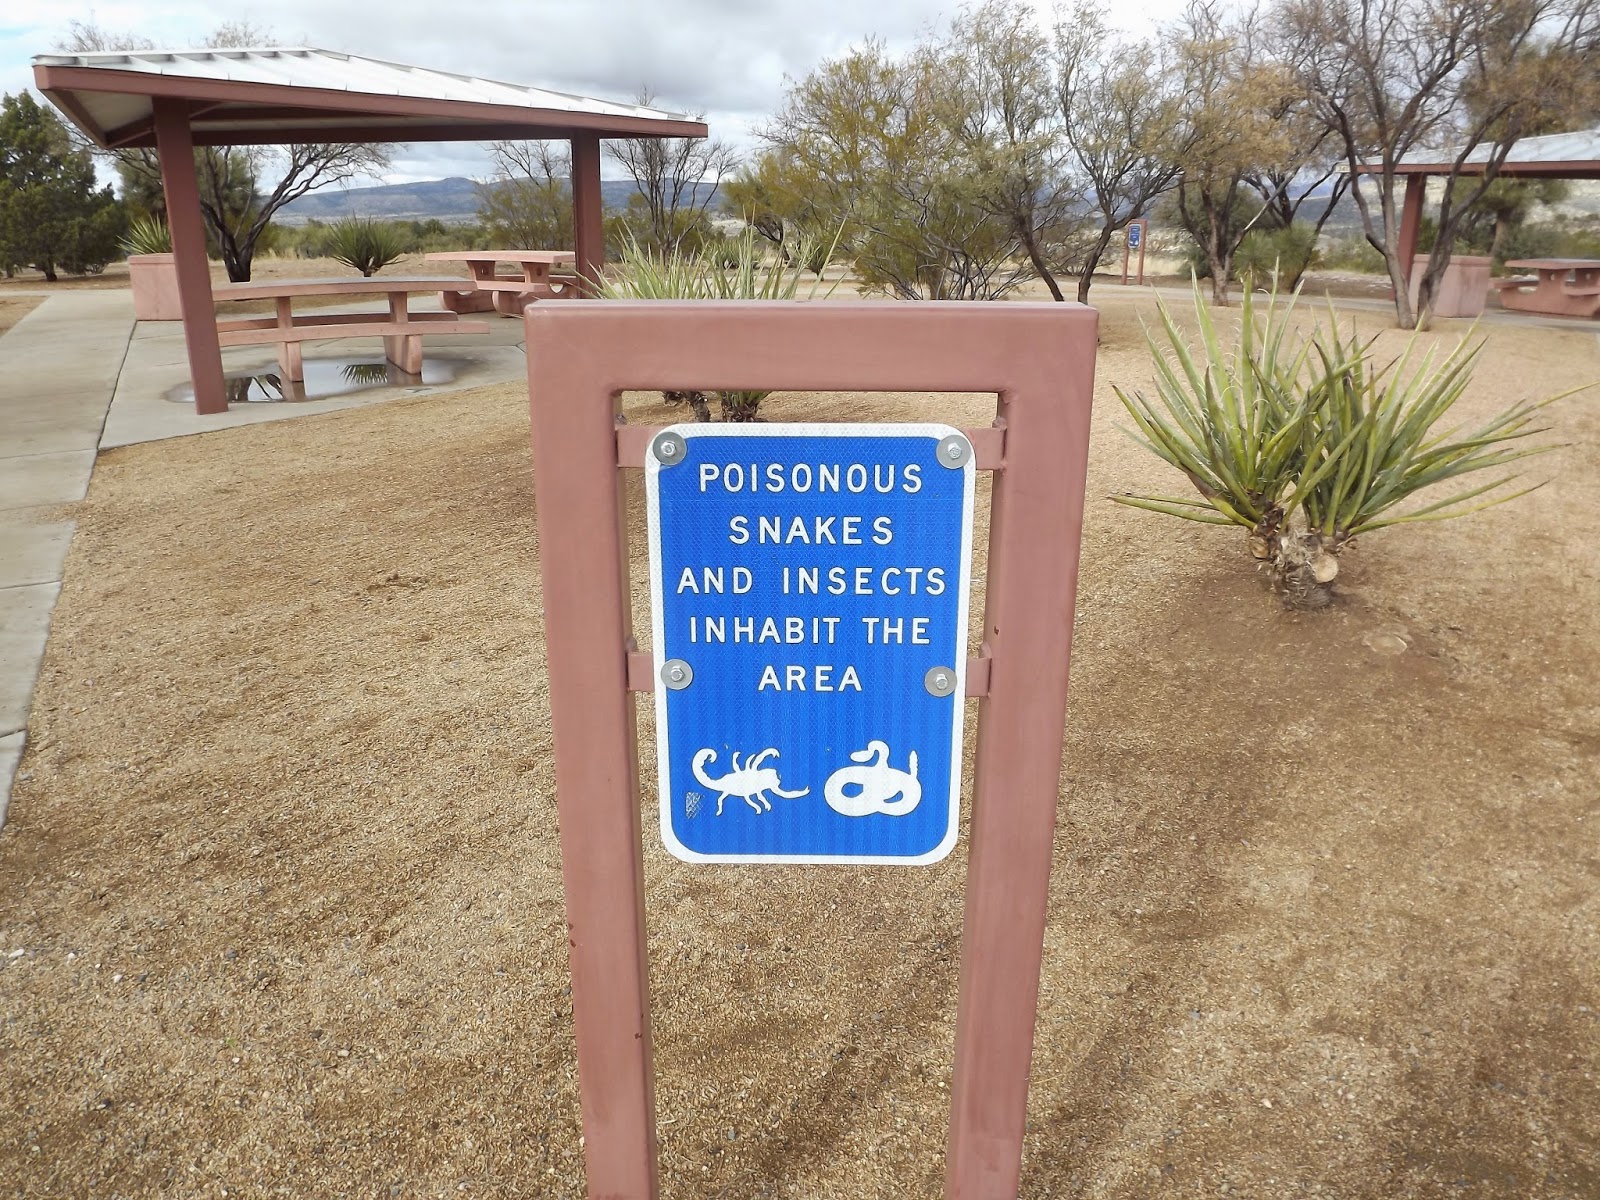
Our several trips to beautiful Arizona is one of the wonderful blessings I want to point out. The desert is healing place. Though dry and desolate, it allows a soul to be quiet and to think and feel. The beauty of the flora and fauna relieves the eye and refreshes the mind.
There were fishing trips, new pets , trips to Idaho, photos from Kanab, UT, bathtubs, from Monroe, UT, lots of fence posts, Renedezvous in St. George, UT., and canned elk on the counter top.
However, the most popular post of 2015 was the Video Tour of Anna Pearl's Garden. We had 97 views, which tells us that we will be doing many more videos in 2016.
Here's the link, if you would like to see the video again. http://annapearlsattic.blogspot.com/2015/06/tour-of-anna-pearls-outside-garden.html
Of course right now, the garden is covered in about 4 feet of snow. Maybe we need a video of that. :)
Wednesday, December 30, 2015
Thursday, December 10, 2015

Thursday, November 19, 2015

Friday, October 9, 2015

Wednesday, September 9, 2015
The First Tomato and the Last Strawberry
It is important to note the change of the seasons when you live on a homestead.
Today, we harvested the first red tomato from the greenhouse and the last strawberry from our strawberry plant.
We had a cold snap that got down to 30 degrees. That ended the season for the outdoor plants, except the onions, cabbage, radishes, lettuce, and spinach.
Now, the fall work begins at Anna Pearl's Gardens.

Friday, July 24, 2015
Nature Does Not Hurry
 |
| Photo Credit: Chad Horton - Taken at Fish Lake, Utah |
This post has been shared at the following Blog Hops
Friday Features Linky Party
Weekend Blog Hop
Thursday, July 23, 2015
How to Fillet a Fish
We are so blessed to live in an area where trout fishing abounds! We recently caught a mess of Rainbow Trout at Viva Naughton Reservoir near Kemmerer, WY.
The fish below was about 14 inches long and had a nice size girth. We decided we wanted to fillet the meat for dinner. Fresh caught wild Rainbow Trout is packed full of healthy Omega 3 oils. It is so good for your body and it tastes divine!

A flexible fillet knife that is really sharp is the best tool to use for this particular task. If you don't have your fillet knife handy, you can still make the cut! Hunky Hubby used his Leatherman!
It really isn't necessary to clean the innards from the fish, as you will just be using the meat portion during this process. You can save the unused portion of the fish to make a nice fish based fertilizer tea for your garden.
 |
| Notice the Chihuahua lounging in the back ground. :) |
Right behind the head, the meat starts. Make a cut all the way from the top to the bottom of the head. Don't cut all the way through. Cut until you feel the knife hit bone.

Make a cut along the backbone,

lifting the meat as you go.


Once you complete the backbone cut, continue to lift the meat and cut through to the underside of the fish.

When you reach the bottom of the fillet, you will notice that the meat is thinning. Cut the fillet off.

Repeat this process on the opposite side.
You have just created two beautiful fish fillets that will cook up nicely on the grill, frying pan or in your oven. What the heck, throw them in the smoker!

Stay tuned for Anna Pearl's Favorite Rainbow Trout BBQ Rub!

We shared this post at the following Blog Hops:
Friday, July 17, 2015
Zucchini Chocolate Chip Muffins

While looking for a muffin recipe, I came across the cutest blog http://timbercreekfarmer.com. Their recipe was for banana muffins. I adapted it below to include zucchini and whole wheat flour. Please visit their blog for the recipe for the banana muffins. It is really good.
Zucchini Muffins
1 1/2 cups whole wheat flour
1 tsp baking soda
3/4 tsp salt
1/4 cup shortening
1/2 cup sugar
1 egg
3 cups shredded zucchini
1/4 cup milk
Mix dry ingredients in a small bowl. In a large bowl, cream the butter, shortening, and sugar together. Add the egg and milk. Mix well. Add the dry ingredients and the zucchini, alternately to the butter and sugar. Mix until combined. Do not overmix.
Grease muffin tin or add cupcake liners. Fill muffin cups 2/3 full.
Bake muffins in a preheated 350 F oven for 15 to 18 minutes until the center is baked when tested with a toothpick.
Cool on a baking rack.
We shared this post at:
Tuesday with a Twist
Together on Tuesdays!
Monday, July 13, 2015
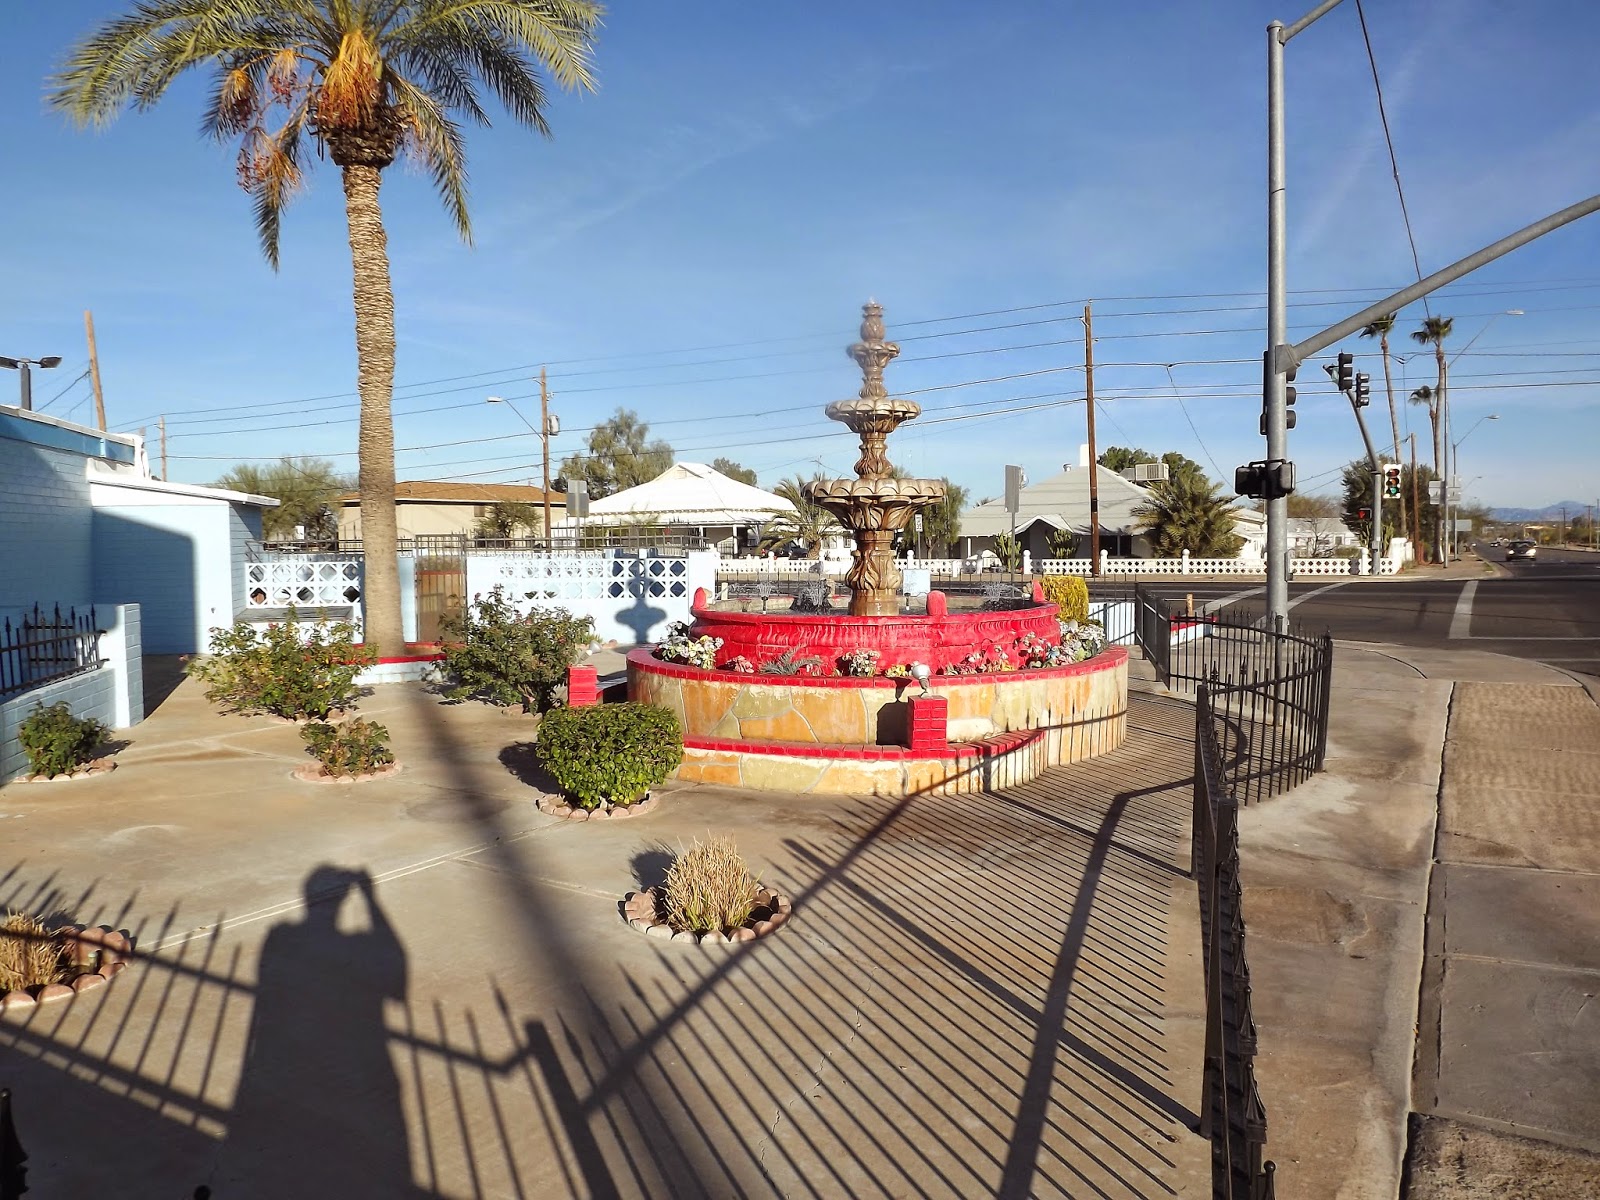
McGuireville Rest Stop
I have been traveling back and forth to Arizona the past few years to take care of my aging father. Through these travels, I have come the following conclusion:
The State of Arizona does an amazing job on their rest stops! Today, I would like to feature the Mcguireville Rest Stop. It is located between Flagstaff and Phoenix. The landscaping is so nice! We usually stop to have a picnic lunch here. We have enjoyed the numerous bird species and have been visited by hungry squirrels and rabbits.
Enjoy the Tour!

 |
| Kinda Scary, huh? |


 |
| Our "personal" lunch spot |

We shared this post on:
Hearth and Soul Hop Link Party
Good Morning Mondays Blog Hop
Turn It Up Tuesday
Friday, July 10, 2015
I've Got Nothing
I would like to note an occasion which does not happen very often. Today, I have nothing to say. My mind is so full of plans for my sister's upcoming memorial service and the disinterment/re-internment of my brother that my creative brain is just not working.
So my dear friends in blog land, please enjoy a little glimpse in to the beauty of Wyoming. Let's just rest our weary minds for awhile!
 |
| Lodgepole Pinecone taken at the Uinta County Youth Camp, south of Robertson, WY. |
Wednesday, July 8, 2015
Who is Truly in Charge?
In an age old battle of "Who is Truly in Charge?" the pets of Anna Pearl's Homestead are at a standstill.
Baby, the senior Labrador clearly thinks that she will be the victor. This is due to her sheer size and brute strength. As evidenced by the gray hair around her muzzle, she is a wise old woman. She has, indeed, fought this fight before.
Missy, the senior cat, make it quite clear that she will come out on top....of the dog bed. After all, possession is nine tenths of the law. She may not be big and strong. However, she is very mighty. She has been using those claws to convince everyone around her that she is not a woman to be messed with.
So the end of the story is?.....
The cat won! Was there ever any question?

I apologize for the fuzziness of the photo. I took it with my cell phone, which is about as old as my pets are. However, the moment had to memorialized and the good camera was just too far away.
We shared this post at the following Blog Hops:
Homestead Blog Hop
Wak Up Wednesday Blog Hop
Our Simple Homestead Blog Hop
Monday, July 6, 2015
Chicken Coop - A Teaser
New Silkie Chicks Arrive Any Day!
 |
| The promise of posts to come! |
We shared this post on:
Hearth and Soul Link Party
Maple Hill Blog Hop
Tuesdays with a Twist
Tuesdays at Our Home Blog Hop
Friday, July 3, 2015
Dinner and a Gift
Let's face it! There are days when you have a little extra time. They are few and far between. In fact, they are so rare that one might be tempted to just sit and wonder that it is actually happening. Most days, it is just crazy!
It was just one of those days when I came up with the "Dinner and a Gift" concept. I actually found myself with nothing pressing my time. I knew I needed to make dinner and decided that I would make dinner for a family who had just had a new baby.
I wanted to make Stuffed Peppers. However, I didn't have enough peppers for both families. Therefore, the following recipe was developed. It allows for two dinners out of one cooking session. Enjoy!
Stuffed Peppers and Beefy Spanish Rice
3 large green peppers
1 pound ground beef
2 Tablespoons chopped onion
1/2 teaspoon garlic salt
2 cups cooked rice
1 can chopped tomatoes with chilies (15 ounce)
1 can corn
3/4 c shredded mozzarella cheese, split in half
Cut thin slice from stem end of each pepper. Remove seeds and membranes; rinse. Cook peppers in enough boiling water to cover 5 minutes; drain.
Remove the stem from the thin top pieces of the pepper and chop the remaining pepper.
Cook and stir hamburger, chopped pepper and onion in a skillet until hamburger is light brown; drain. Stir in garlic salt, cooked rice, and the can of tomatoes; heat through.
Divide the mixture in half, reserving half for the Beefy Spanish Rice.
Stuffed Peppers
Stuff each pepper with hamburger mixture; stand upright in an ungreased baking dish. Cover; cook in 350 degree oven for 45 minutes. Uncover; cook 15 minutes longer. Sprinkle with cheese.
Beefy Spanish Rice
To the reserved meat/rice mixture, add 1 can of corn. Mix well and place in an ungreased casserole dish. Bake in 350 degree oven for 20 minutes. Add the cheese and cover until cheese is melted.
We linked with The Weekend Blog Hop
Wednesday, July 1, 2015
Tour of Anna Pearl's Greenhouse
Please join us for a springtime tour of Anna Pearl's Greenhouse! See below for a video tour.


 |
| Drying herbs |
 |
| Tomatoes |
 |
| Oregano |
 |
| Cucumber Trellis |
 |
| Cucumbers |
 |
| We fill the barrel with water. It helps insulate and hydrate the space. |
Monday, June 29, 2015
Blue Mist Hotel - A Review
During a recent trip to Florence, Arizona, we stayed at the Blue Mist Hotel. I can honestly say that I have never stayed at a cleaner hotel.
It is owned by a local Hispanic couple and the upkeep on the place is phenomenal! They employ another couple who work diligently all day long on the cleanliness and maintenance. Every morning, one of the men go out and sweep the parking lot. I'm telling you that you could feed your baby off the parking lot!
The rate is very reasonable. The rooms are big with large bathrooms. The beds are comfortable and the linens are well cared for. Not a speck of dust or dirt anywhere! We stayed in a room with a mini kitchen. It was fully stocked and made our stay feel homey.
We would highly recommend this hotel for your overnight accommodations. See their website at The Blue Mist Hotel
(Please note: Anna Pearl's Attic accepted or was offered no compensation for this review. We just really like doing reviews!)


I linked this post to Homemade Mondays Blog Hop!
I linked this post to Good Morning Mondays Blog Hop
I linked this post to The Maple Hill Hop
Friday, June 26, 2015
An Old-timers Canned Elk
Hunky Hubby's family has been canning wild meat for many years. Homesteading their family ranch in 1905, they had to make do in a very harsh Wyoming environment. Elk and deer are plentiful in the area. Their meat provided nourishment for many pioneer families. It was much more economical to kill and eat wild game, as opposed to consuming beef or lamb that could be sold at market.
Many years ago, Awesome Mother in Law taught us to process wild meat for freezing and canning. There are two methods that she used for canning. The methods differ in the meat preparation before they go into the bottle.
The first method is easy and does not take a lot of prep time. It is called Raw Packing. Simply cut the meat into bite size chunks. Place the chunks into clean, sterilized bottles. Add 1/2 teaspoon salt. Do not add water. Place clean lids on top of the bottle and secure with caps. Make sure that neither the meat nor the water are touching the lid. Pressure can the meat at 15 pounds for 90 minutes.

The second method that my dear Mother in Law used is a Hot Pack method. Into a large mixing bowl, add 2 cups of flour, 1 TBLS. Garlic Powder, 1 TBLS. Onion Powder and 1 Teas. Paprika. Cut the meat into bite size pieces and dredge in the flour mixture. Add two TBLS bacon grease to a large cast iron frying pan. Heat the grease and add the meat, searing on each side. The meat should only be seared and not cooked through. As the searing is completed, add the meat to a clean, sterilized jar. Add 1/2 Teas. salt to the top of each bottle. Once all the meat has been seared and placed in the jars, add 2 cups of water to the frying pan. Allow the water to boil while stirring and scraping the goodies from the bottom of the pan. Allow this mixture to reduce. This will provide a sort of rue for your broth. In a large pan, add the rue, 4 TBLS dried minced onion and as much water needed to fill the number of jars you have. Bring to a boil. The broth will taste weak, but the meat and salt will flavor it more during cooking. Pour the boiling broth over the meat in the jars. Place clean lids on top of the bottle and secure with caps. Make sure you leave at least 1 inch between the top of the meat and the lid. Pressure can the meat at 15 pounds for 90 minutes.

Make sure that you give the bottles lots of time to cool before you move them. They are very hot, so be careful! We write the species of meat and the year of canning on the top of the lid. For best quality, use the meat within a year of canning. They will keep for many years, though the quality will be diminished.
This meat can be used for stews and soups, meat and gravy dishes, or mixed with mayo and pickle relish for a yummy sandwich spread. we have been consuming this meat for over 30 years. We have never had a bottle go bad, using these methods.
Disclaimer: We don't profess to be home canning experts. We are simply sharing the way that we have been taught to do it. Please research safe canning practices before you attempt home canning or pressure canning. Here is an excellent resource for more information. Canning Wild Meat - University of Wisconsin
I shared this post with Old-fashioned Friday Blog Hop!
Wednesday, June 24, 2015
Tour of Anna Pearl's Outside Garden
Hope you enjoy a visit to our gardens. The YouTube link a video tour.
 |
| The Gardens @ Anna Pearl's Attic |
 |
| Garlic |
 |
| Peas |
 |
| Savory Cabbage and Onions |
 |
| Summer Squash |
 |
| Cabbage |
Subscribe to:
Posts (Atom)